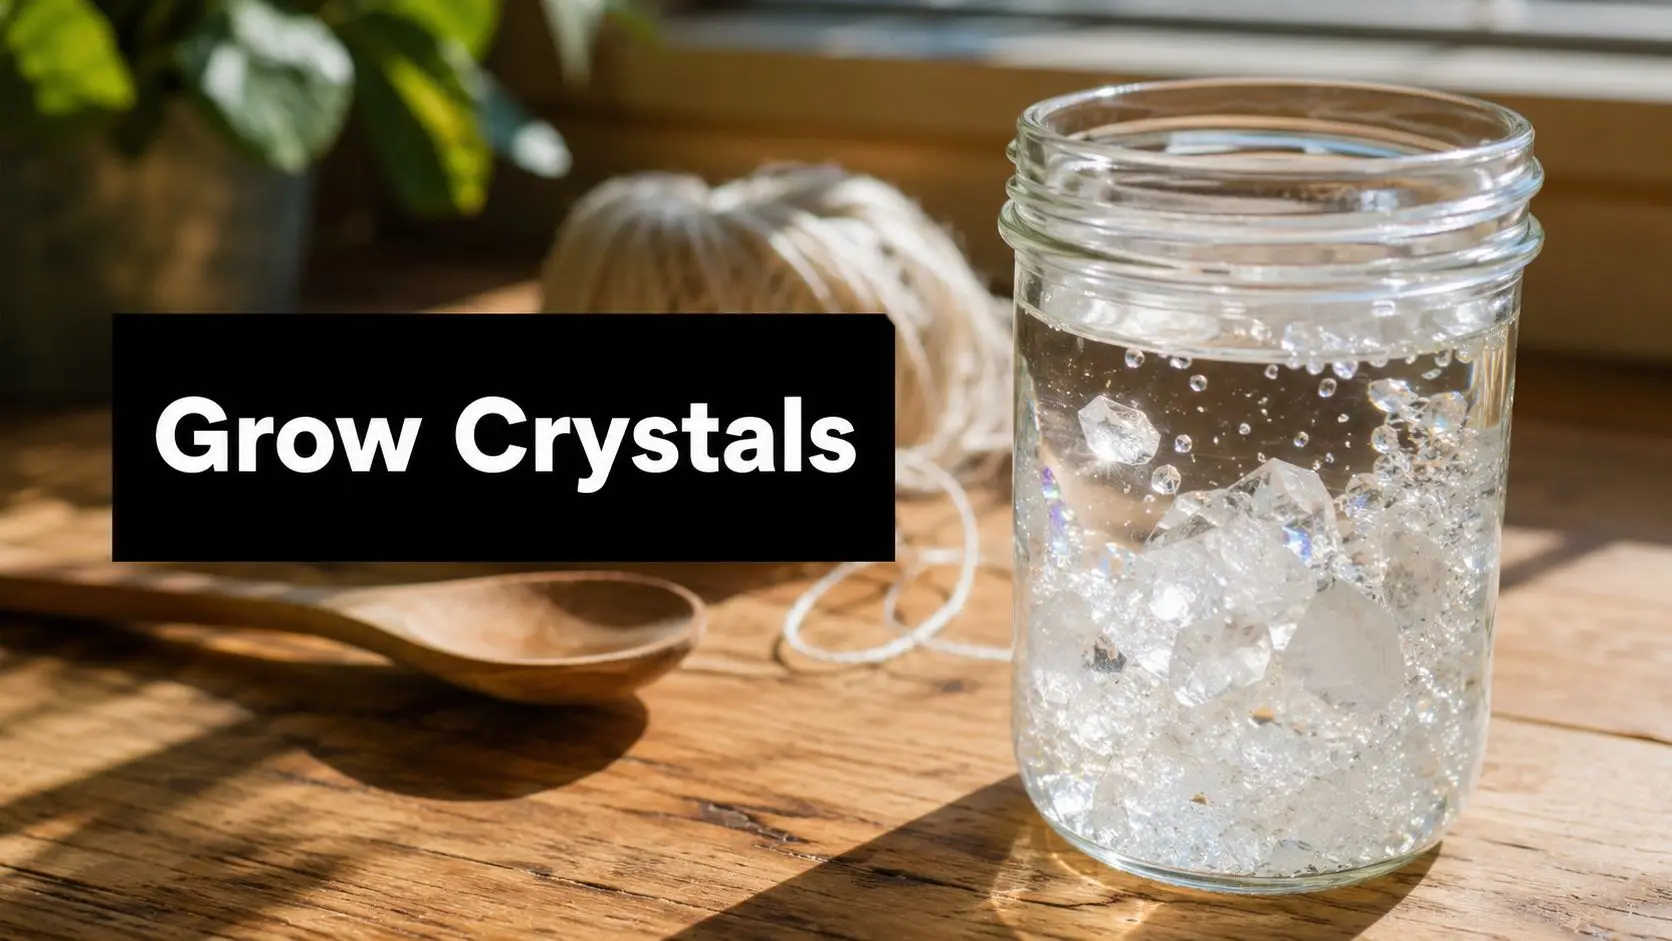
A child leans over the kitchen table, staring into a jar of clear liquid and asking the sort of question that can stop a busy day in its tracks. How do you make crystals? Not the shiny ones in a museum shop, but real ones, grown at home, with their own hands.
That's a wonderful question because it turns an ordinary afternoon into something memorable. A spoon, a jar, hot water, a bit of patience, and suddenly your home feels less like a kitchen and more like a tiny laboratory where hidden patterns reveal themselves slowly. For many children, that first glimpse of sparkling edges on a string feels like magic. For a parent, it's something even better. Shared curiosity.
Making crystals is also one of the gentlest ways to teach real science. Children can watch liquids change, notice patterns, ask why some jars work and others don't, and begin thinking like scientists without feeling as though they're doing a worksheet. The result is beautiful, but the process matters just as much.
Spark a Love for Science by Making Crystals at Home
One of the loveliest things about crystal growing is its gentle beginning. Your child may start with a very simple hope. They want to make “something sparkly”. Then, over the next few days, they begin checking the jar each morning like a tiny researcher waiting for news.
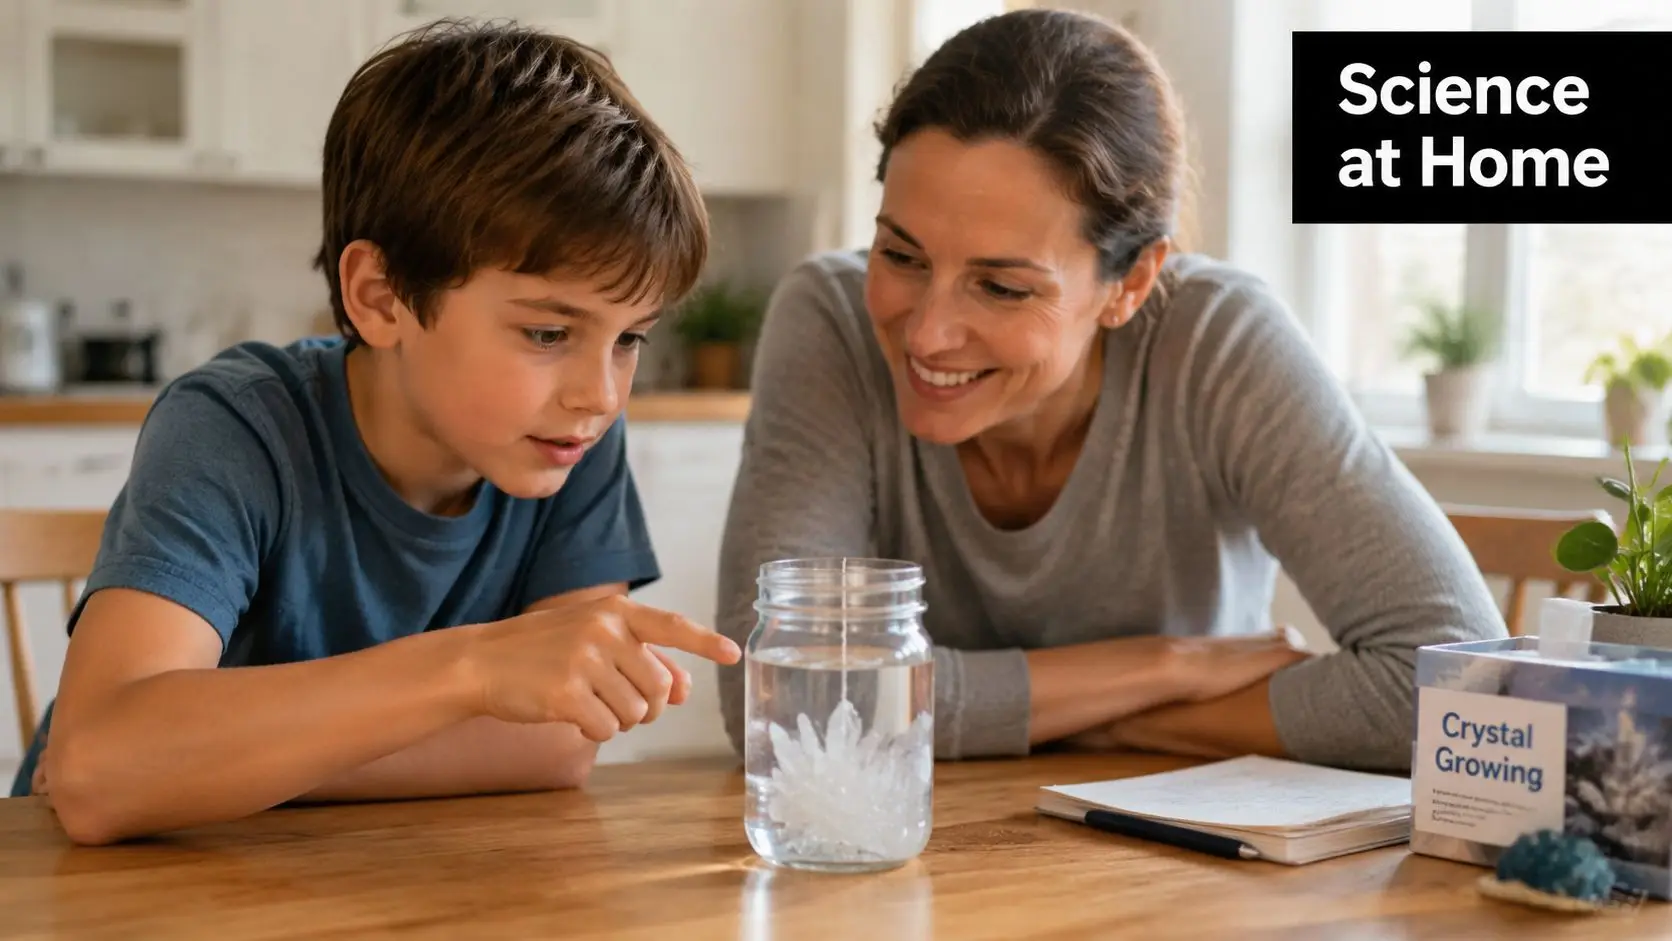
A home crystal experiment works so well because it gives children a visible transformation. Salt disappears into water. Sugar melts from sight. Then, slowly, order returns. Sharp edges appear. Tiny shapes join together. A child who usually rushes from one activity to the next often slows down here. They observe. They predict. They realise science isn't only something found in textbooks.
A parent might begin with table salt on a rainy Tuesday and end the week with a child proudly explaining why the crystals formed on the string and not in mid-air. That sense of ownership matters. Children remember the lessons they've touched, waited for, and wondered about.
If your child already loves hands-on learning, it can help to pair crystal growing with other intriguing Earth science projects that build the same habit of noticing patterns in the natural world. Crystals sit beautifully beside rocks, minerals, weathering, and the study of how our planet is built.
Science becomes more powerful for a child when it feels personal. A jar on the kitchen table can do that surprisingly well.
When families ask how do you make crystals in a way that's simple and meaningful, the best answer isn't just a recipe. It's an experience. You're giving your child a chance to feel wonder, practise patience, and see that real scientific discovery often starts with a very ordinary question.
Gathering Your Science Kit and Staying Safe
Before you grow anything, set up your workspace carefully. Children feel calmer and more confident when everything they need is ready in front of them. It also reduces spills, rushed decisions, and the temptation to touch hot equipment too soon.

What to gather
Most home crystal projects use a small set of familiar tools:
- Clean jar: A wide-mouthed glass jar makes it easier to pour, observe, and suspend a string.
- String or fishing line: Cotton string works well for many beginner projects. Nylon fishing line is useful when you want to suspend a seed crystal neatly.
- Lollipop stick, pencil, or skewer: This sits across the top of the jar and holds the string.
- Measuring spoons or cups: Accurate measuring matters more than many parents expect, especially with alum.
- Safety goggles: Children should protect their eyes when working near powders or hot liquids.
- Gloves: Helpful for handling materials and keeping hands clean.
- Spoon or stirrer: Use a non-reactive one where possible.
- Hot water source: An adult should manage the kettle and pouring.
For families who enjoy practical learning, a wider collection of science experiments at home can make these simple tools feel like the start of a proper home lab.
The safety rule that matters most
The actual hazard in many child-friendly crystal experiments isn't the crystal. It's the hot water. Boiling or near-boiling water dissolves more solid, which is what makes crystal growth possible, but children need close supervision whenever kettles, pans, or heated jars are involved.
Keep the jar on a flat surface. Let an adult pour the hot water. Tie strings and prepare the jar before the liquid goes in, not after. If your child is very young or has additional sensory needs, it often works best if they measure the powder and observe while you handle the heat.
A short visual guide can help children understand the setup before you begin:
Borax and UK family safety
Regarding this topic, many online guides fall short. Some popular recipes recommend borax because crystals can form quickly on pipe cleaners, but UK families need to pause before using it.
While many online guides recommend borax, it is important for UK families to be aware of safety regulations. A 2025 Health and Safety Executive (HSE) advisory confirmed borax is classified as a reproductive toxicant (Category 2) in the UK, requiring risk assessments for use with children under 16, a fact often omitted from DIY websites (Instructables borax crystal guide).
That doesn't mean you can't enjoy crystal growing at home. It means you should choose safer options for children, especially in casual family activities. Salt, sugar, alum, and some school-style alternatives give children the same sense of wonder without making safety an afterthought.
Practical rule: If a recipe looks exciting but skips safety guidance, don't assume it's suitable for a child in the UK.
Set the child up to succeed
Children do best when the process feels secure and predictable. Try this:
- Prepare first: Measure powders and cut string before any heating starts.
- Clear the area: Keep pets, bags, and extra clutter away from the table.
- Label the jar: A child who writes “salt”, “sugar”, or “alum” on a sticky note feels involved and less likely to mix things up.
- Choose a resting place: Put the jar somewhere it won't be bumped.
- Agree the rule: Looking is encouraged. Touching isn't, unless an adult says it's safe.
A calm setup turns the whole activity into a confident one.
Four Easy Recipes for Your First Crystal
The best first recipe depends on your child. Some children want fast results. Some love edible science. Some are happy to wait if the outcome looks especially jewel-like. A good choice gives them a real chance of success.
Choose your crystal adventure
| Crystal Type | Time to Grow | What You'll Need | Best For |
|---|---|---|---|
| Salt crystal | About a week | Table salt, hot water, jar, string or paper clip | Children who want classic crystal shapes |
| Sugar crystal | 4 to 5 days | Sugar, boiling water, jar, stick, string | Edible science and younger learners |
| Alum crystal | Seed crystals in 2 to 3 days, larger growth over several days | Alum, hot water, jar, thread or fishing line | Clear geometric crystals and older learners |
| Epsom salt crystal | At least 4 hours in the refrigerator | Epsom salt, very hot tap water, food colouring, jar | A quicker colourful project |
Salt crystals from the kitchen cupboard
Salt is wonderfully familiar. That helps children feel brave about the experiment because they already know the ingredient from mealtimes.
To grow a salt crystal solution, dissolve table salt into boiling hot water until no more salt dissolves. One guide gives this as approximately 360g of salt per 1000ml of water at 100°C, compared to 357g at 0°C. The same activity guide advises boiling water in a kettle, cooling it slightly, then adding several teaspoons of salt and stirring until the solution reaches saturation, which is the point where no more salt dissolves (salt crystal method).
For a child, the exciting part is the moment the salt seems to vanish. Then you tell them the secret. It hasn't gone. It's hiding in the water.
Tie a string to a paper clip or suspend it from a stick so it hangs into the jar without touching the bottom. As the solution cools to room temperature, it can hold more dissolved salt than cooler water normally should. Over about a week, salt can begin to settle onto the string or paper clip and build visible shapes.
If your child asks why this recipe sometimes fails, the answer is often temperature. If the water isn't close enough to boiling, the solution won't become strongly supersaturated as it cools.
Sugar crystals that feel like edible magic
Sugar crystals are brilliant for younger children because they connect instantly to sweets and cooking. The science still holds, but the starting point feels playful.
For sugar crystals, add sugar one cup at a time until three cups dissolve completely in one cup of boiling water. Then leave the mixture to cool for 15 minutes before pouring it into a jar, and expect the crystals to take 4 to 5 days to reach full size (sugar crystal demonstration).
A cotton string tied to a pencil works well here. Some families like to wet the string first and roll it in a little sugar to encourage early growth. If you do that, let the coating dry before placing it in the jar.
Children love checking this jar because the process feels dramatic. Tiny glittering spots can become a proper sugary coating over several days.
If your child is impatient, make a prediction chart. Ask them to draw what they think the string will look like tomorrow, then compare it with the real jar.
Alum crystals for sharp, gem-like shapes
If you want the prettiest classroom-style crystals, alum is a strong choice. It rewards careful measuring, so it's especially satisfying for older primary children, secondary students, and any child who likes precision.
A beginner method is to weigh exactly 18g of alum and dissolve it in 100ml of hot water for a saturated solution, or 22g in 100ml for a supersaturated one. After cooling to room temperature, sprinkle in a few grains of alum powder to encourage tiny crystals. These small crystals need to grow to at least 5mm before you choose one as a seed crystal, which takes about 2 to 3 days (beginner alum guide).
This recipe teaches patience beautifully. Your child may need to pick a single crystal instead of keeping every tiny one. That can feel hard at first, but it introduces a powerful scientific idea. Sometimes the best result comes from selecting carefully, not rushing.
For a simple family version, dissolve the alum, let the solution cool, and leave it undisturbed in a safe place. If seed crystals appear, let your child inspect them closely and choose the most symmetrical one.
Epsom salt crystals for a quicker result
When a child wants visible change the same day, Epsom salt can help. It's not the long, slow journey of rock candy or a large alum crystal, but it gives fast feedback.
For this activity, mix 1/2 cup of Epsom salts with a couple of drops of food colouring and 1/2 cup of very hot tap water, stirring for exactly one minute to make a supersaturated solution. Then place the jar in a refrigerator for at least 4 hours to produce colourful crystals (Epsom salt crystal experiment).
This is a good option for children who need encouragement early. They can see that crystals are real and reachable before trying a longer project.
Helping your child choose
Different children respond to different rhythms of science:
- For quick excitement: Epsom salt often gives the fastest visible result.
- For edible curiosity: Sugar is the obvious favourite.
- For geometric beauty: Alum is often the most satisfying.
- For familiar materials: Salt keeps the experiment simple and accessible.
If a child is asking how do you make crystals, they're often really asking something deeper. Can I make something surprising from ordinary things? These recipes let them answer yes.
Uncovering the Magic The Science of How Crystals Grow
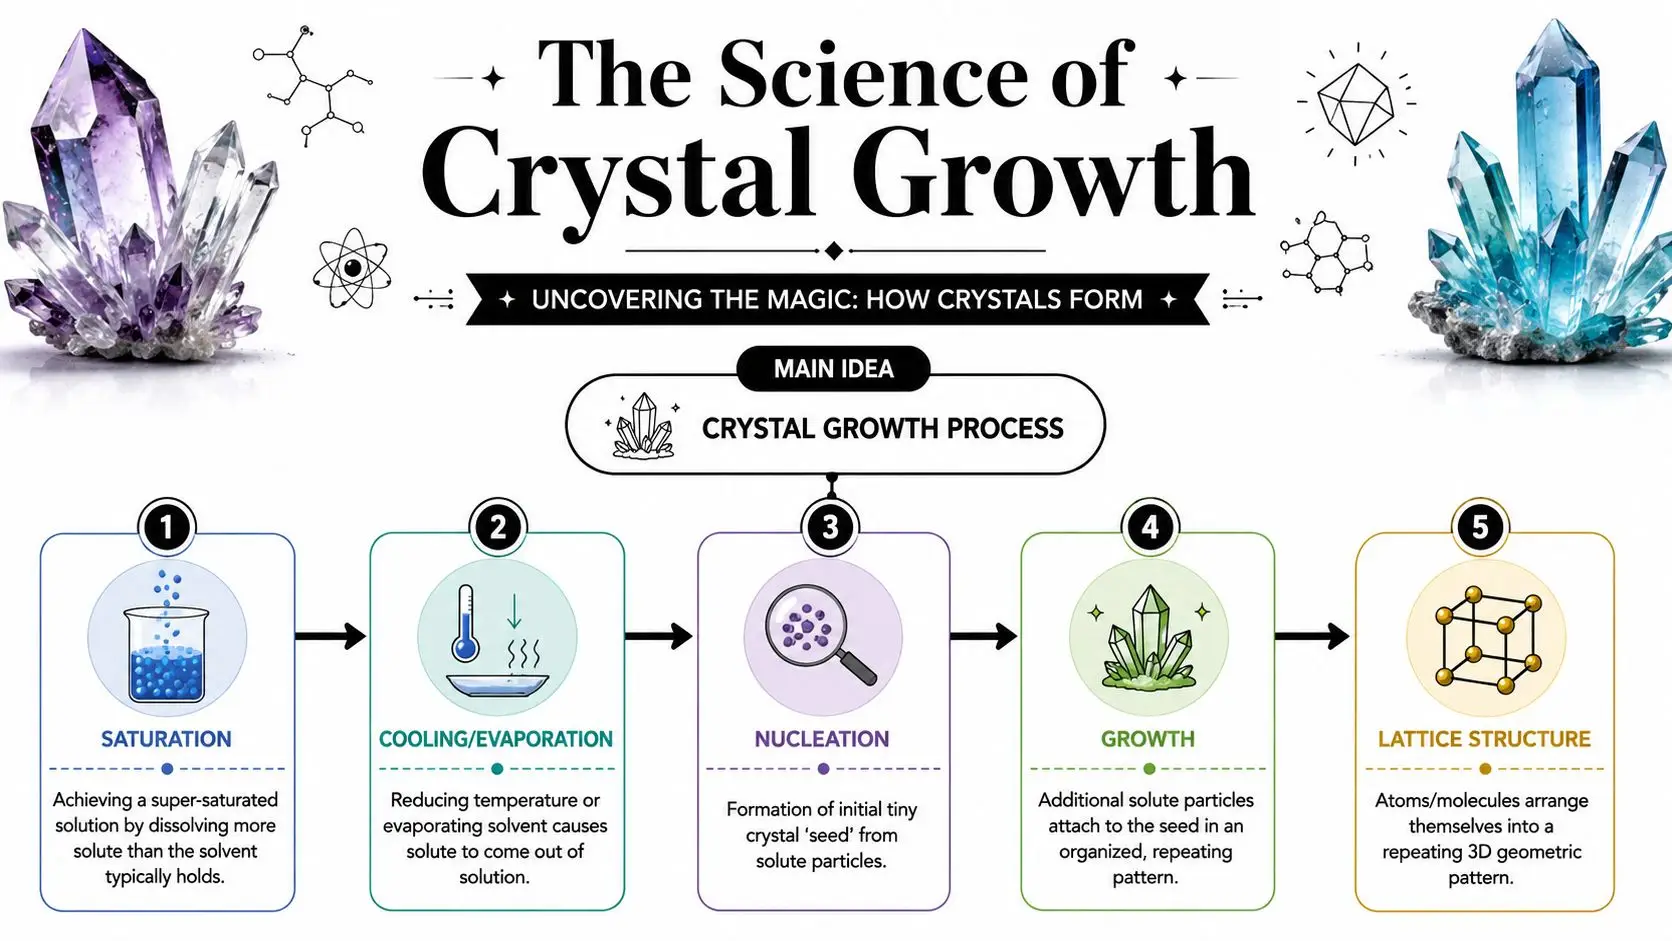
The magic becomes even better once a child understands what's happening. Crystals don't appear at random. The particles arrange themselves in a repeating pattern, almost as though they are tidying themselves into neat rows.
Saturation and supersaturation in child-friendly terms
Think of water as a room filling with people. At first, there's plenty of space, so more people can enter easily. As more salt, sugar, or alum dissolves, the room becomes crowded. Eventually it reaches a point where no more can fit. That's saturation.
Now heat changes the rules. Hot water can hold more dissolved solid than cooler water. So you pack in extra particles while the water is hot. As it cools, the room suddenly becomes too crowded. The extra particles need somewhere to go.
That's why crystal recipes often depend on heat, cooling, or both.
The birth of a crystal
A crystal usually begins when particles find a tiny starting point. This is called nucleation. A rough surface, a thread, a grain of powder, or a small existing crystal can help.
A useful analogy for children is musical chairs. When the music stops, everyone rushes to a place. In a cooling solution, particles also begin “choosing places”, but not randomly. They line up in a repeating pattern. As more particles join, the shape becomes visible.
For older students studying chemistry, this links naturally to ideas about particle behaviour and structure. A course such as Edexcel Chemistry AS explores these patterns at a deeper level, but the first spark often comes from seeing a crystal form in real life.
A crystal grows because particles leave the solution and join an organised structure, not because the jar is doing something mysterious.
Why natural crystals fascinate children
Children often connect home experiments to the wider world once they realise crystals occur in nature too. If you want to show them what a natural mineral cluster looks like after discussing crystal structure, an authentic Pakistan quartz specimen can help them compare their home-grown crystal with one shaped over much longer natural processes.
That comparison is powerful. The kitchen experiment becomes a small window into geology, chemistry, and the invisible order built into materials all around us.
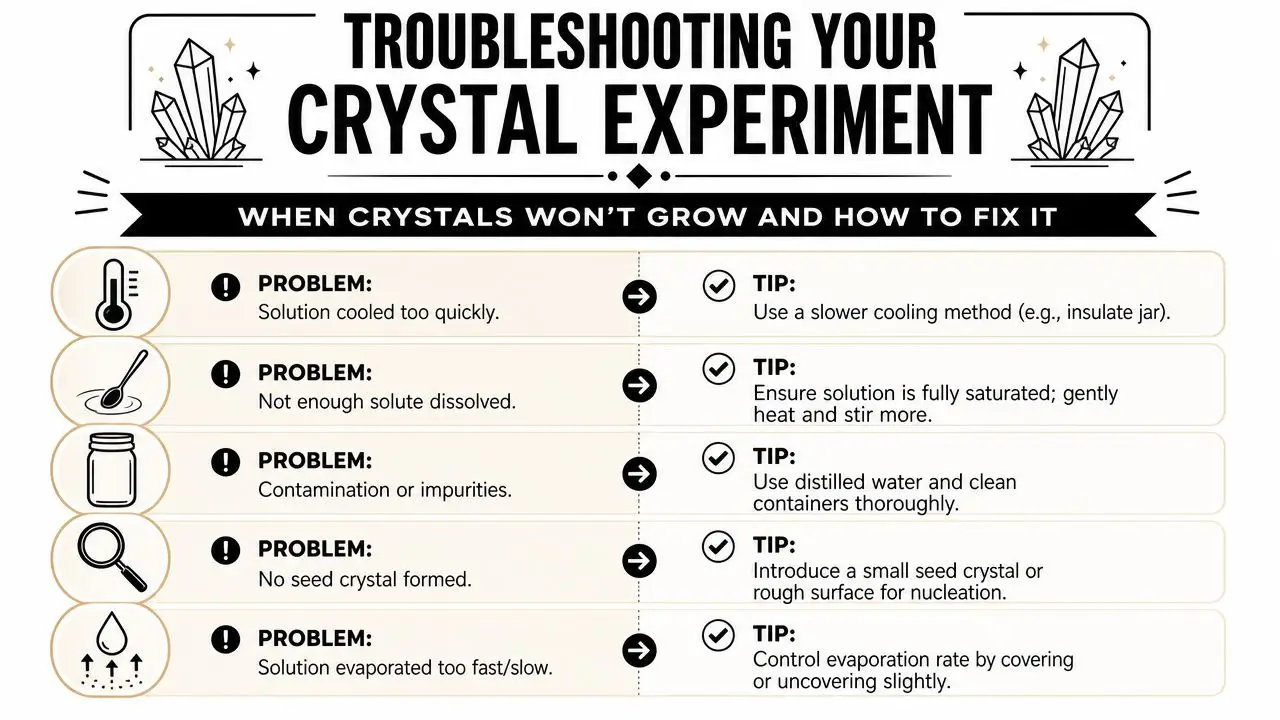
When Crystals Won't Grow and How to Fix It
A failed crystal experiment can make a child feel disappointed very quickly. That's normal. It helps to say the quiet part out loud. Scientists don't see a result and stop. They look for clues.
If nothing seems to happen
The first thing to check is whether enough solid dissolved in the hot water. If the mixture wasn't saturated, there may not be enough material available to build crystals as it cools.
A second cause is movement. Children naturally want to pick up the jar, tilt it, or hold it to the light. That can interrupt early growth. Give the experiment a dedicated resting place and invite your child to observe from the outside.
If you get tiny crystals instead of one big one
This is very common. It usually means too many crystals started growing at once.
With alum, a more advanced approach is to let several small crystals form first, then select the best seed after 1 to 2 days and suspend it in a fresh solution. One method for high-quality single alum crystals uses 22g of alum in 100ml of hot water at approximately 45 to 55°C to make a supersaturated solution without boiling. It also warns that putting the solution in a fridge to cool quickly often leads to poor crystal shapes, and advises keeping the jar undisturbed at room temperature while using distilled water and non-reactive tools rather than wooden spoons or tap water (single alum crystal method).
That's a lovely upgrade for an older child who wants to move from “I made crystals” to “I can improve crystal quality”.
Troubleshooting mindset: Ask your child, “What changed?” before you ask, “What went wrong?”
If crystals turn cloudy, soft, or wet
UK homes present a special challenge. Humidity affects many homemade crystals, especially sugar and some salts.
One UK-focused note points out that average indoor humidity in UK homes is often high enough that many homemade Epsom salt or sugar crystals dissolve or crack quickly. It also highlights alum as a more moisture-resistant choice for humid conditions and notes that many guides don't address this practical issue for UK families (UK crystal-growing guidance).
If your child's crystal looks beautiful one day and tired the next, that isn't carelessness. The air may be working against you.
Try these responses:
- Choose alum for display pieces: It tends to cope better than more hygroscopic crystals.
- Store finished crystals carefully: A covered display space helps.
- Avoid steamy rooms: Kitchens and bathrooms are rarely ideal long-term homes for crystals.
- Handle gently: Moisture from fingers can spoil delicate surfaces.
If the child feels discouraged
The emotional side matters. A child who has waited days for results can feel a real sense of loss when the jar disappoints. That's the moment to protect their confidence.
You can say, “Your experiment gave us information.” Then help them change one variable only. A new jar, cleaner water, a warmer starting solution, or a better resting place can turn frustration into a proper investigation.
Children who learn this lesson through crystal growing are learning something bigger than chemistry. They're learning resilience.
From Kitchen Science to School Success
A crystal jar on the table might look like a craft project, but it supports serious learning across the school years. That's why this activity is so valuable. It gives children a concrete experience before they meet the formal terms in class.
For younger learners, crystal growing makes changing materials visible. STEM.org.uk describes growing alum powder crystals from an eggshell as an activity designed to help children understand material changes, and notes that the one-week process gives young students a structured opportunity to observe crystallisation and think scientifically about what's happening (STEM crystal activity).
What children learn at different stages
- Key Stage 2: Children observe changes, compare materials, and talk about what dissolves and what reappears.
- Key Stage 3: Students can connect the experiment to solutions, solubility, particles, and reversible changes.
- Key Stage 4: GCSE learners can use crystal growth to think more carefully about bonding, structure, purity, and variables in an investigation.
For primary-aged pupils, a broader Key Stage 2 science curriculum often becomes easier to grasp when ideas like dissolving and crystallising aren't just words on a page but something they've seen in a jar by the window.
Why this matters for confidence
Children remember the lessons that gave them a role. Measuring powder, checking for seed crystals, waiting, recording, and adjusting all build scientific habits. This is especially important for children who don't always feel confident in formal classroom settings. A successful home experiment can help them think, “I can do science.”
It also creates a bridge between parent and child. You aren't just supervising. You're noticing, asking, encouraging, and wondering together. That shared attention often matters as much as the crystal itself.
A sparkling result is lovely. A child who starts to see the world as something they can investigate is even better.
Queens Online School helps children turn curiosity into confident learning through a full British curriculum taught online by specialist teachers. If your child thrives with personalised support, live lessons, and a flexible learning environment from primary through sixth form, explore Queens Online School.